To qualify for free shipping:
Please note:
If you have any questions don’t hesitate to reach out—we’re here to help!
We will send you an email to reset your password.
$31.99 Unit price / per
$48.99 Unit price / per
$64.99 Unit price / per
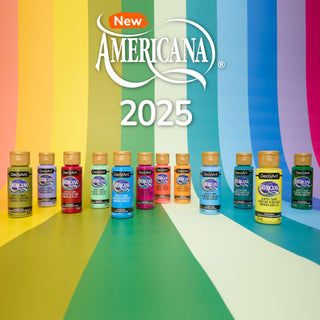
New
12 New Colors Just Added!
NEW COLORS ADDED
Let the Light Shine Through
NEW
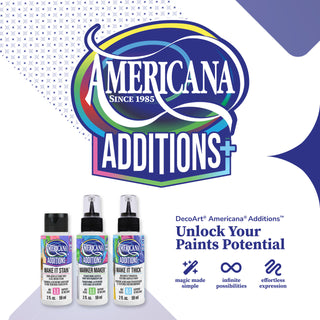
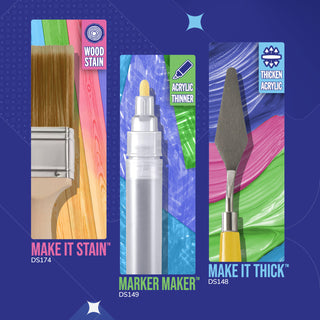
Unleash Your Paints Potential
Your One-Stop Shop for Banner Brilliance
Embrace the Mastery of Fine Art Materials: Unleash Your Creativity with Our Premium Oil Paints.
Our team crafts every product with trusted quality & care.
Since 1985 we've been mastering the art of art supplies.
Available in the contiguous U.S. on orders over $60.
About DecoArt
We source the best components from around the world, but every drop of our paint is proudly crafted and manufactured with care in the USA.
$31.99
$2.90
$29.99
$12.98
$6.34
$11.20
$5.28
May 19, 2026
Jan 26, 2026
Dec 1, 2025
Enter the password to view the page
Enter the passcode to view the page
Enter the password to view this page.