


This post is sponsored by DecoArt. All ideas, opinions, and crafts are my own. Thank you so much for supporting the brands that keep the crafts coming!
At the beginning of the year, I decided to try my hand at paint pouring to create a marble look. I immediately became obsessed and my first attempt turned out amazing! Call it beginners luck, because my next few pours didn’t look so hot. But I think I have finally gotten the hand of it and am excited to share with you all the new pouring medium from DecoArt and how to use to it create this fab DIY paint poured marble clock.

If you aren’t familiar with the marbled paint pouring technique, then you need to know that the pouring medium is a way to thin out the acrylic paint to make it flow smoothly and create a marbled effect when poured. DecoArt just released this pouring medium and I was so excited to give it a try. In the past I just used water to thin out my paint, but the water would dilute the paint a little too much and give it a more matte look. The pouring medium is great because it helps the paint maintain its look and sheen when try, but thins it out perfectly so that it can flow.
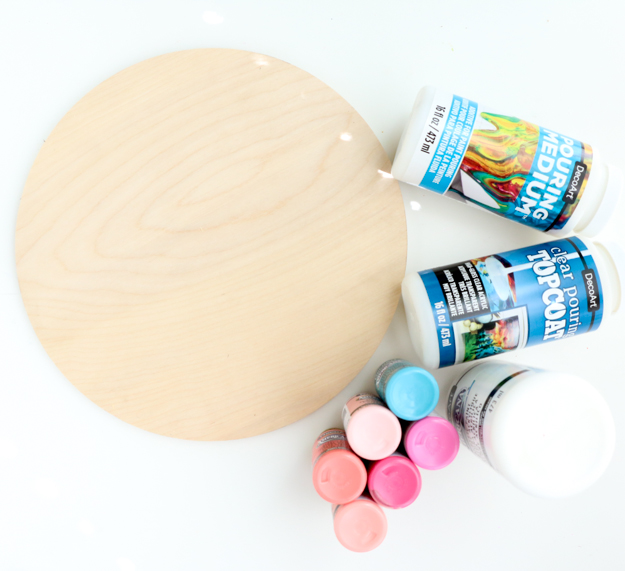
Materials:
-DecoArt pouring medium
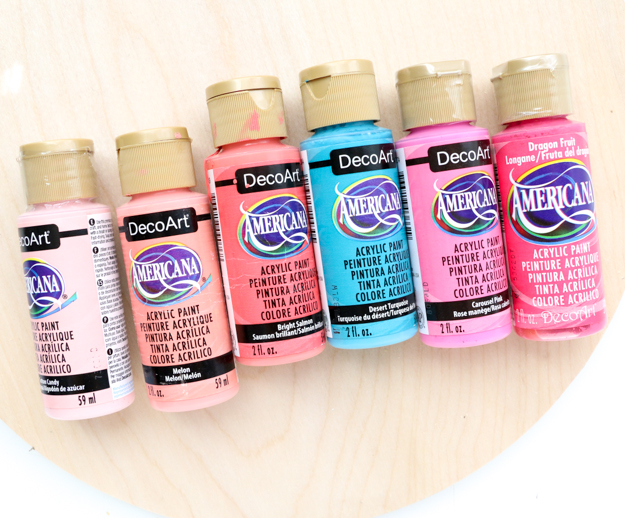
-DecoArt Americana Acrylic paint (I used cotton candy, desert turquoise, bright salmon, melon, dragon fruit, white, and carousel pink)
-Disposable cups
-Popsicle sticks or spoons
-Wood round (I used a 12″ round from the hardware store, but you can also find a wood clock craft kit at Target)
-Clock movement kit (or buy a craft clock kit as mentioned above)
-Drill and 1/2″ bit if using a plain wood round
-Covered word surface (I just use plastic wrap)
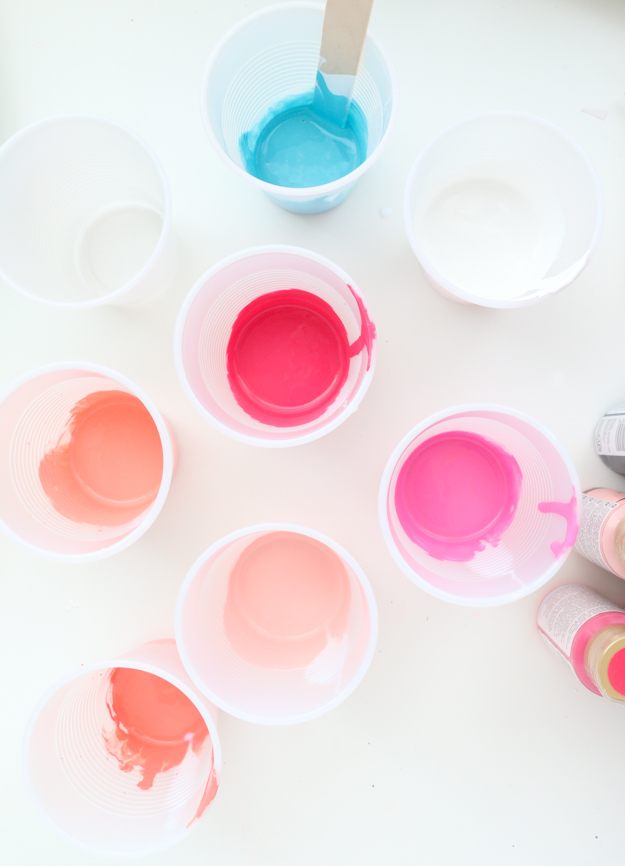
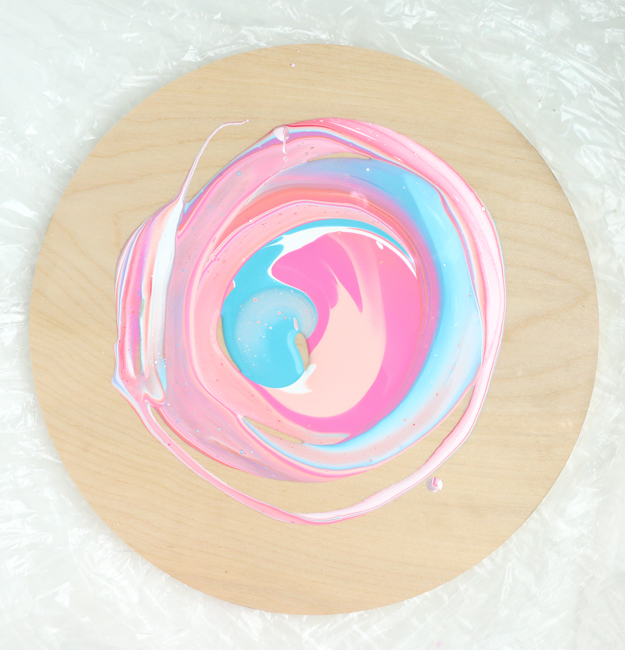
Begin by pouring about half of each bottle of paint into a plastic cup and then add an equal amount of pouring medium. Stir with the popsicle sitcks or spoons until well mixed.
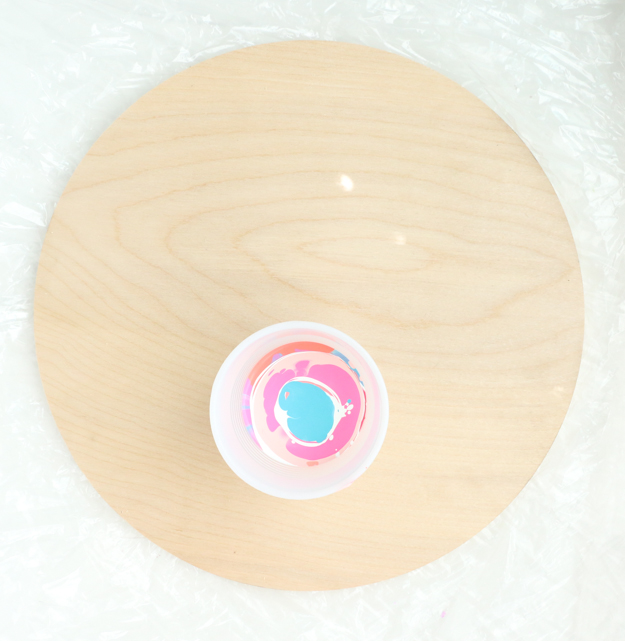
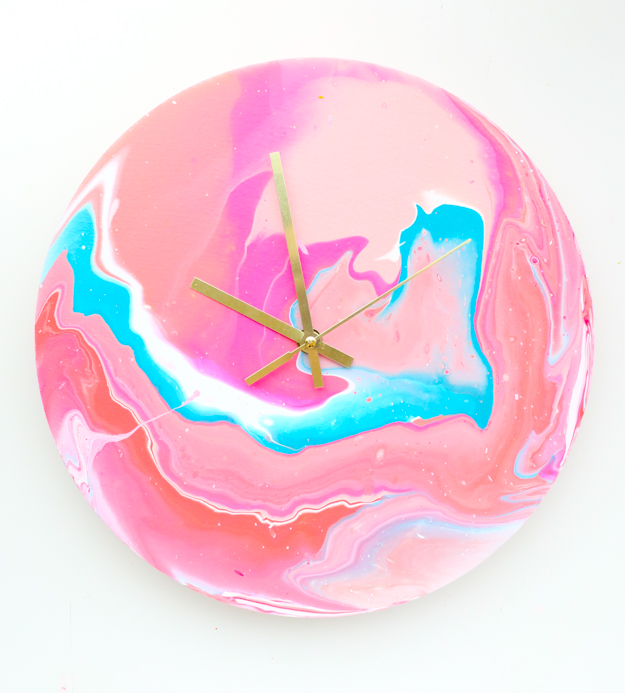
Next, layer the colors together one at a time into a clean cup, alternating the colors as you go. How much paint you pour for each layer will determine the width of your marbled bands. Once you have all your paint in the cup, pour the paint out onto the center of the wood round. Pick up the wood and tip and turn around to move the paint and have it cover the surface. This will create the marbled pattern.
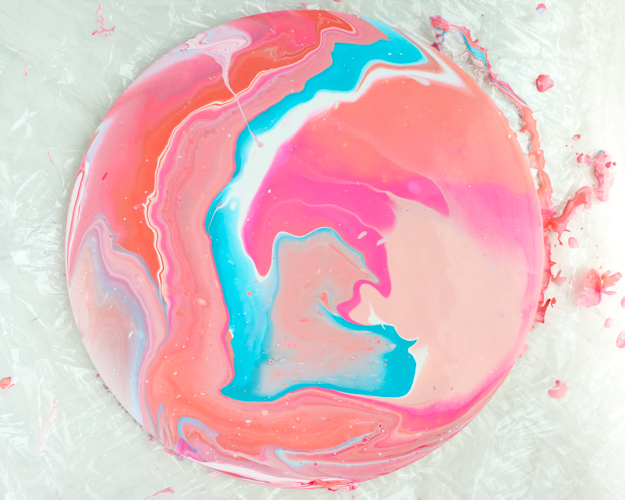
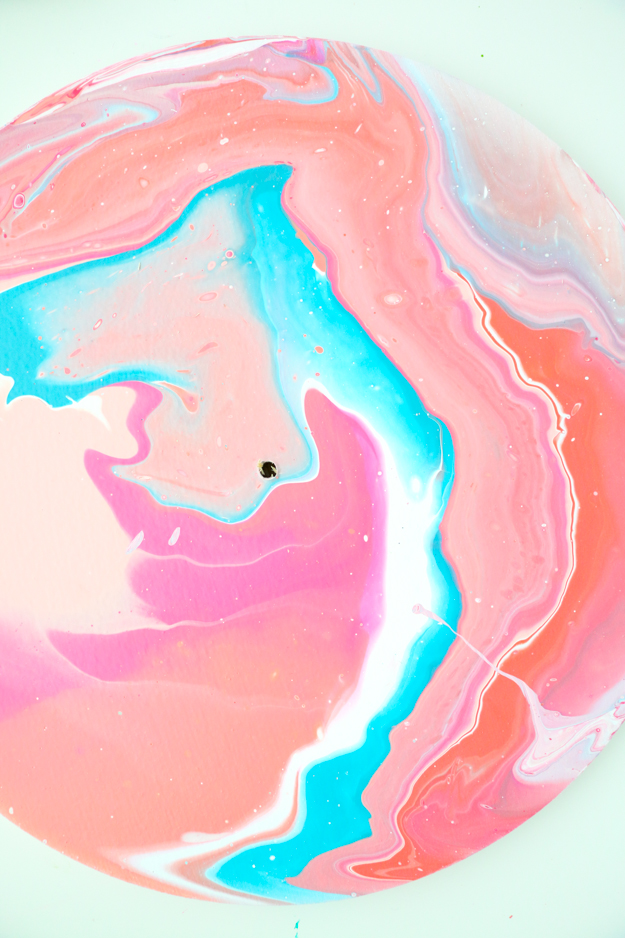
Once covered, set it down on your covered surface and let the paint dry overnight. Once dry, drill a hole in the center of the wood round and add your movement.
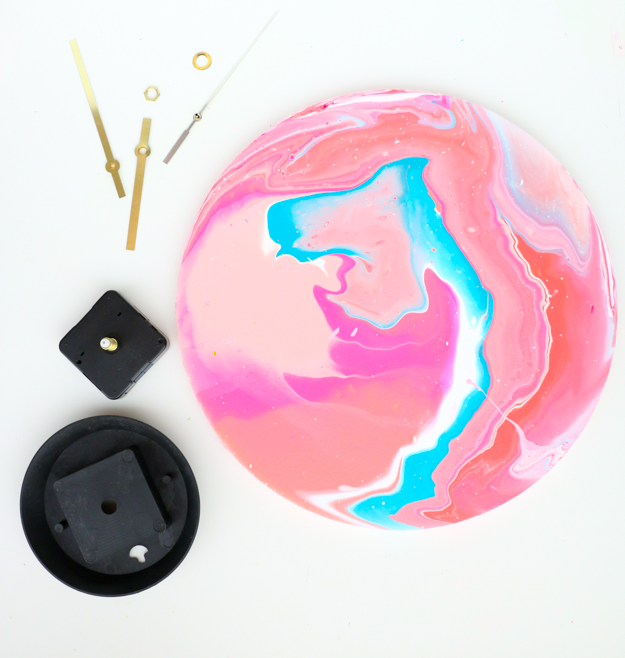
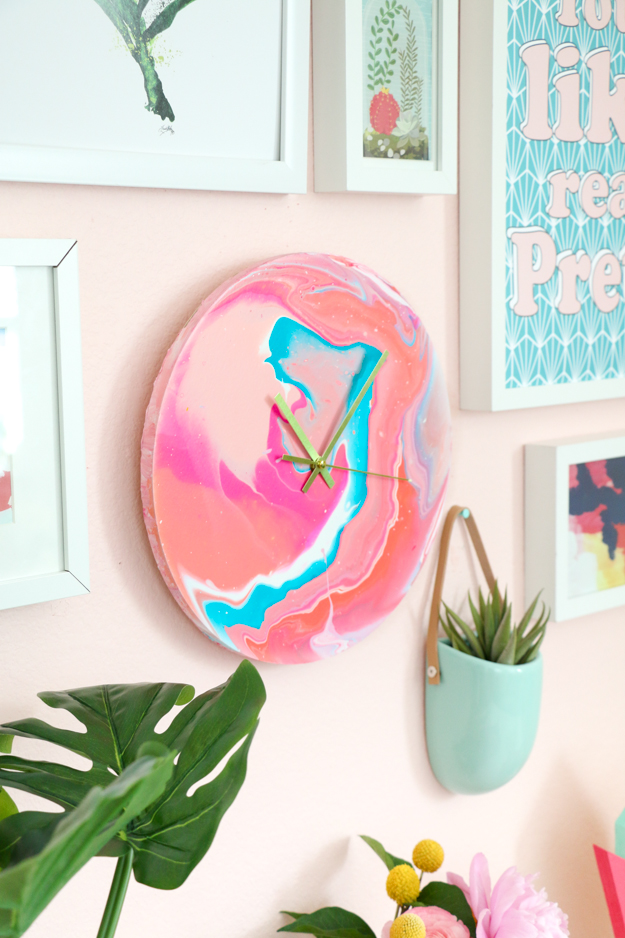
Then it is ready to add your battery and hang above your desk or anywhere in your home! I made a small clock for my desk, but you can also use this same technique with a larger wood round to create a large statement wall clock for your living room.

I love that this marble technique gives you a completely different look each time you do it, even if you are using the same colors. Hopefully I have inspired you to play around with pouring medium to create your own DIY paint poured marble clock!


April 17th, 2018 at 8:58 am
This is absolutely STUNNING. I adore the colours you chose, and you have definitely convinced me that paint pouring isn’t as scary as I thought it was! Perhaps I’ll give it a try someday soon ☺️
April 17th, 2018 at 5:16 pm
Yay!
April 21st, 2018 at 6:31 am
Would you use this same technique on a canvas??
April 23rd, 2018 at 11:46 am
Yes!!!