Back-to-School Time Capsule
Posted by DecoArt on Aug 8th 2019
The beginning of the school year is full of excitement and new adventures, but this time of year is also such a busy and hectic time. Before you know it the school year is flying by and the details you swore you would never forget are nothing more than a distant memory.
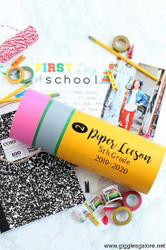
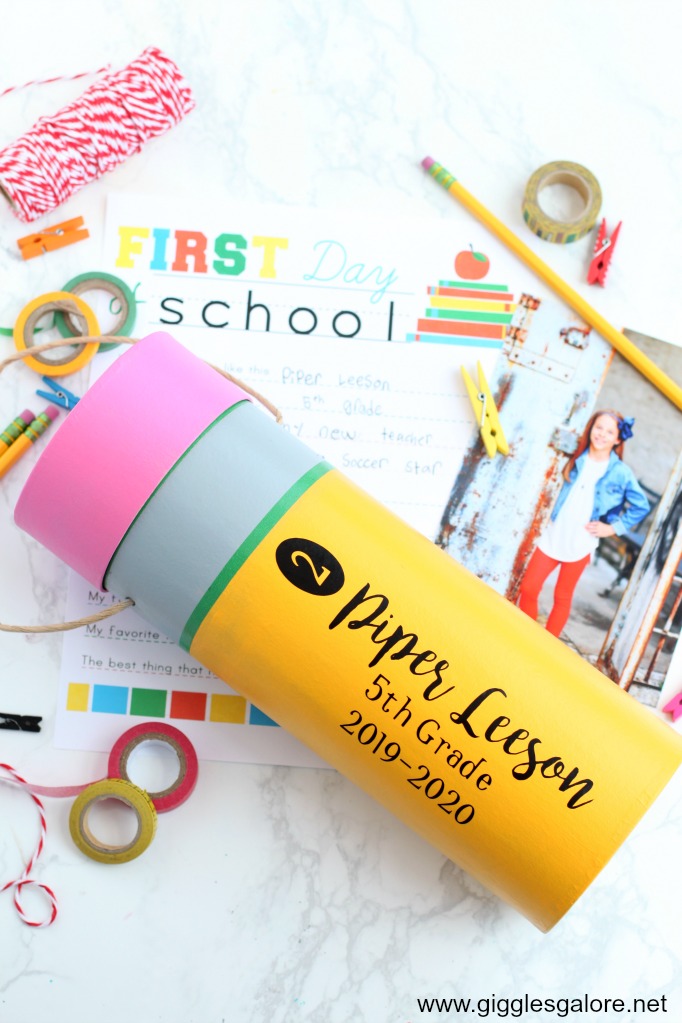
With this fun DIY Back-to-School Time Capsule, you can preserve those precious memories and at the end of the year, you can reflect back and see just how much has changed over the year. Our family has been doing this time capsule tradition for years, but instead of putting the keepsakes in a box, this year I decided to create a fun DIY painted pencil back-to-school time capsule.
Items needed:
Americana Multi-Surface Satin Acrylics - Flamingo
Americana Multi-Surface Satin Acrylics - Dolphin
Americana Multi-Surface Satin Acrylics - Black Tie
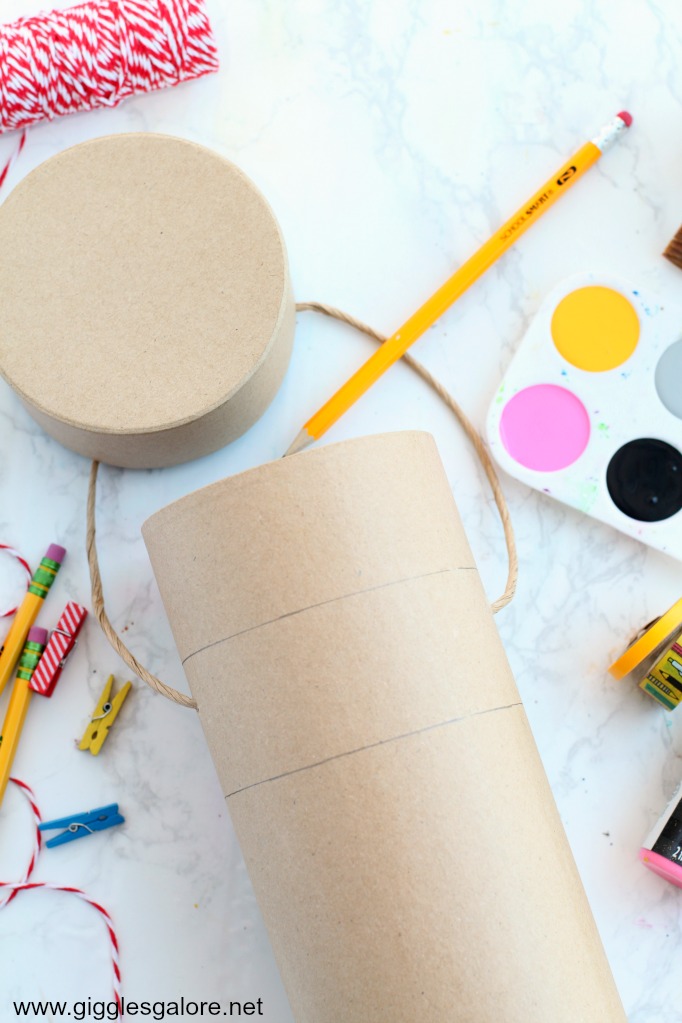
Paper Mache Tube with Lid
Washi Tape
Paint Brush
Free Back to School Interview
Start by taping off a 2" section of the tube toward the top. I placed the lid on the tube and traced around the bottom of that with a pencil, and then used washi tape to tape off the second line creating my 2" section.
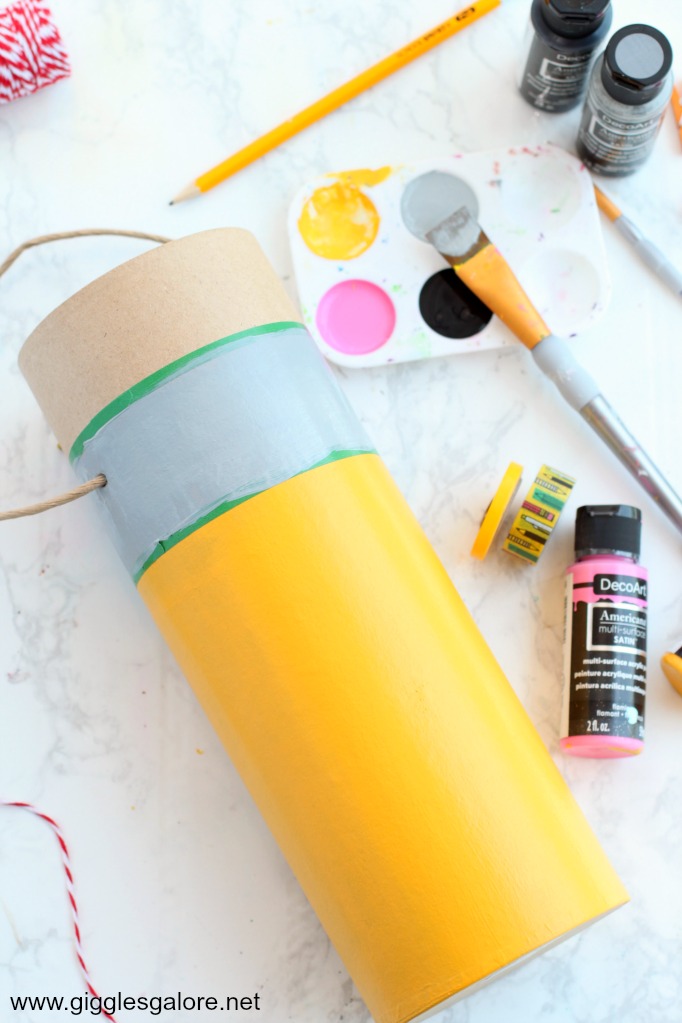
Paint the bottom half of the tube yellow. You may need more than one coat of paint, to get a smooth even finish.
Once the yellow paint is dry paint the middle 2" section you created with the gray or silver paint.
Finally, paint the top section and the lid with the pink paint to create the eraser on your pencil.

If you want you can separate the middle gray layer from the others with thin green washi tape for a decorative finish.

Once you've finished painting the time capsule and the paint has dried it's time to personalize it. I used my Cricut machine to cut out each kids name, grade and school year in vinyl. If you don't have a cutting machine you can always use stickers or a black marker to personalize your pencil.
Now it's time to fill the time capsule with those treasured keepsakes. Visit Giggles Galore and download our free back to school interview. This is a fun little questionnaire your kids can answer to see what their favorite things are and what they are most excited about for the new school year. At the end of the year download the free end of school interview and see how much they have grown and changed over the year.
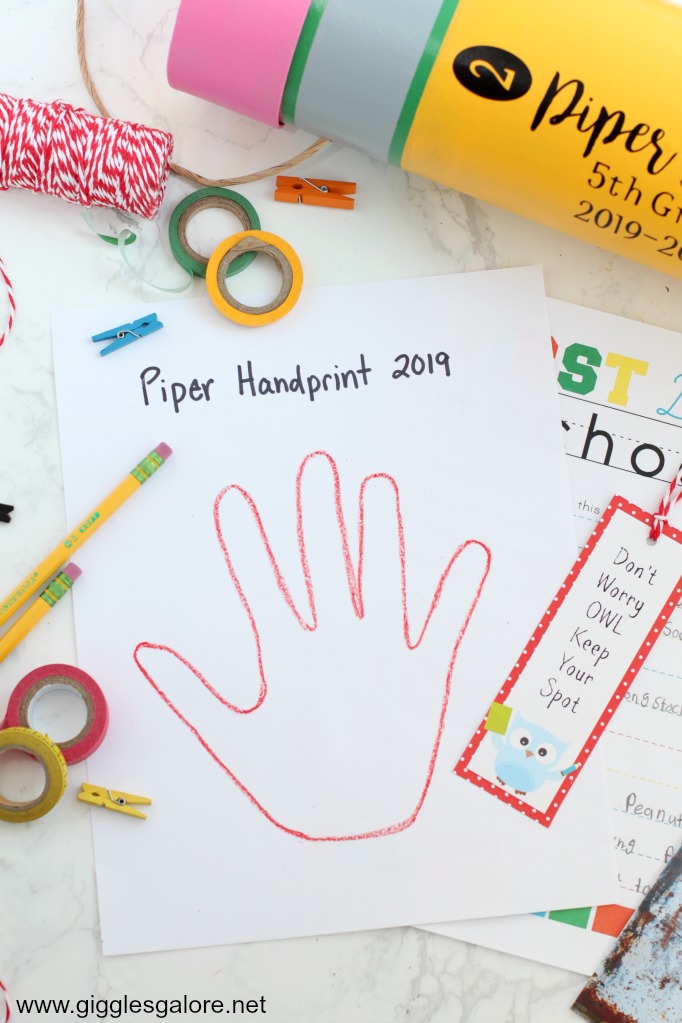
Other ideas of things to include in your time capsule are your child's handprint, their back to school picture and what their hopes and dreams are for the school year.
Throughout the year you can add treasured keepsakes like awards, artwork or standout assignments.
At the end of the year open up the time capsule and take

