To qualify for free shipping:
Please note:
If you have any questions don’t hesitate to reach out—we’re here to help!
We will send you an email to reset your password.
$31.99 Unit price / per
$48.99 Unit price / per
$64.99 Unit price / per
Celebrate 250 years
Shop 25% off Americana this weekend only!
NEW ARRIVALS
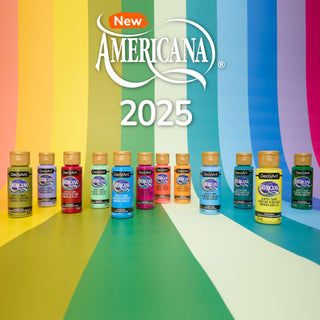
Check out our newest Americana Acrylic paint sets.
New
12 New Colors Just Added!
NEW COLORS ADDED
Let the Light Shine Through
NEW
Unleash Your Paints Potential
Embrace the Mastery of Fine Art Materials: Unleash Your Creativity with Our Premium Oil Paints.
Our team crafts every product with trusted quality & care.
Since 1985 we've been mastering the art of art supplies.
Available in the contiguous U.S. on orders over $60.
About DecoArt
We source the best components from around the world, but every drop of our paint is proudly crafted and manufactured with care in the USA.
$34.99
$36.99
$31.99
Regular price $2.90 $2.17 25% off
$29.99
$12.98
May 19, 2026
Jan 26, 2026
Dec 1, 2025
Enter the password to view the page
Enter the passcode to view the page
Enter the password to view this page.