Our team crafts every product with trusted quality & care.
Since 1985 we've been mastering the art of art supplies.
Available in the contiguous U.S. on orders over $50.
What's New?
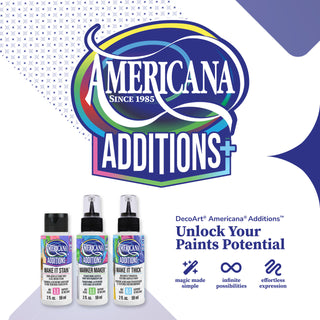
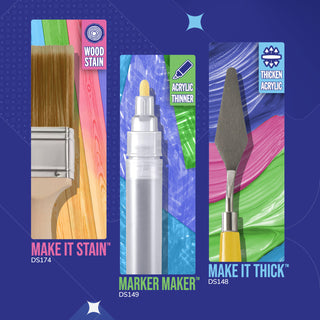
Americana Additions - Make It Stain Starter Set
$12.98
- Unit price
- / per
$12.98
- Unit price
- / per
Americana Additions - Marker Maker Starter Set
$12.98
- Unit price
- / per
$12.98
- Unit price
- / per
Americana Additions Make It Thick Starter Set
$12.98
- Unit price
- / per
$12.98
- Unit price
- / per
Americana Additions - Empty Paint Marker 3 Pack
$12.98
- Unit price
- / per
$12.98
- Unit price
- / per
Americana Additions
$6.34
- Unit price
- / per
$6.34
- Unit price
- / per
2026 Ultimate Valentine’s Day Paint Set
$29.99
- Unit price
- / per
$29.99
- Unit price
- / per
Americana 40th Anniversary Special Edition Paint Set
$24.99
- Unit price
- / per
$24.99
- Unit price
- / per
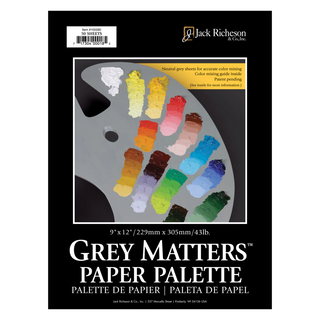
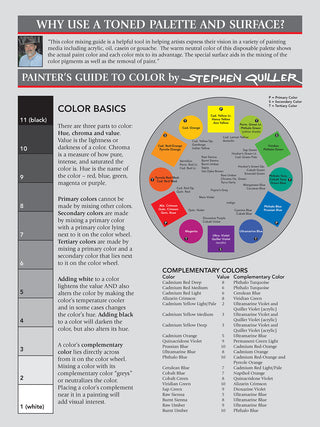
Grey Matters Paper Palette 9" X 12" 50 Sheets
$11.20
- Unit price
- / per
$11.20
- Unit price
- / per
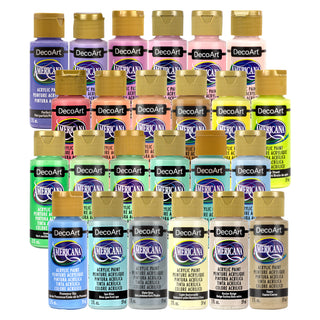
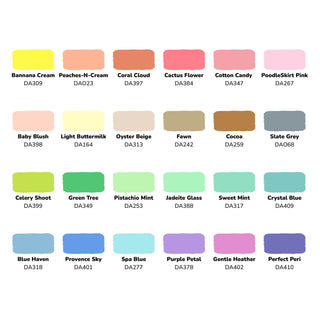
Pastel Perfection: The Ultimate Pastel Paint Set
$41.99
- Unit price
- / per
$41.99
- Unit price
- / per
Banner Painting Starter Set
$34.99
- Unit price
- / per
$34.99
- Unit price
- / per

